Sep 30th, 2021 Aaryan C
Thursday Block- B
Thursday Block- B
New Year New Season New Game!!
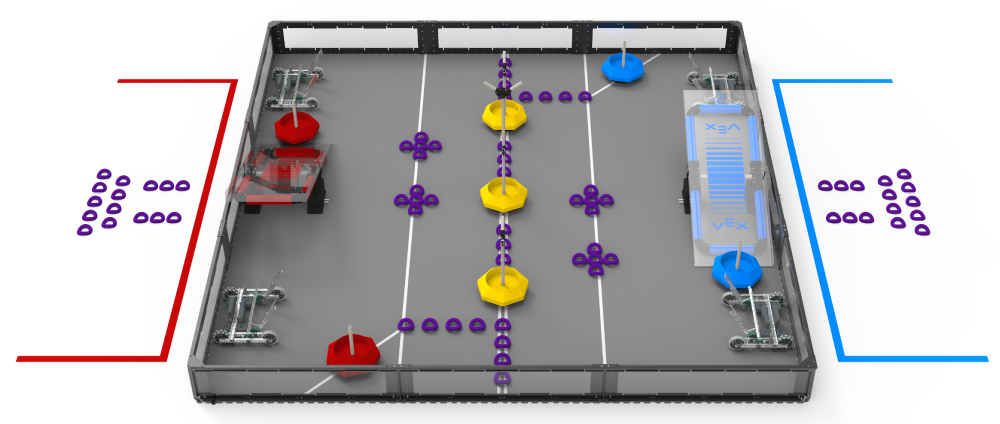
VEX Tipping Point 2021-2022
|
|
|
- VEX Robotics Competition Tipping Point is played on a 12’x12’ square field configured as seen above. 2 Alliances ,1 red and one blue composed of 2 Teams each, compete in matches consisting of a fifteen second Autonomous Period, followed by a one minute and forty-five second Driver Controlled Period.
- The object of the game is to attain a higher score than the opposing Alliance by Scoring Rings, moving Mobile Goals to Alliance Zones, and by stand on Platform at the end of a Match.
This year for the 2021-2022 VEX Tipping Point, I am teaming up with Ansh, Harkeerat, Gurarman and Marlene to compete in these games. We will have to make 2 teams i.e. 2 robots in order to compete in this competition. In other words, our first step would be to build a rigid, supportive, and functional drivebase. In order to hold the Alliance Goals and ensure that all of the robots are strong in this game, it is extremely important to have a supportive, rigid and functional drive.
Our Robots: Drivebase Inspiration

|
Different types of drivetrain can be incorporated into robot builds, such as Standard Drive, H Drive, X-Drive, etc. As well as gears, these drive-bases can be configured to meet the game's needs. We chose to build our first robot with a Standard Drive because it was easy to build, functional, predictable, and saved time. We will also be adding gears, a 1:1 ratio. We are using two gears with 36 teeth each and one with 12 teeth in the middle. On the other hand, we decided to keep it even more simple by using just motors, C-channels, and motors in our second robot.

|
Steps for Building Our Drive-base:
1) Planning-
We start by figuring out what drive-base and what gear, motor configuration would be beneficial for the robot.
2) Designing-
The next step is designing the robot, which includes drawing, constructing different models using metal, and using 3-D modeling, which is the most efficient of all.
3)Building-
As part of this process, the most exciting and pivotal part is building, where we get a chance to test whether this idea works. Due to the possibility of finding a problem and having to start over or redo something, this process takes the longest.
4)Testing-
Once the building process is completed, we move on to testing, which includes running the code, checking if the drivetrain is functional, if there is enough support, and testing that the drive base will function.
*5)Repeat-In some cases, even after testing, building one may have to restart because of some issue, so some parts of this process should be reassessed.
Final Design/ Progress
3D Model:
|
|
For me, developing a plan to determine how we would build our drivebases was one of the earliest steps. A 3D model is essentially what this layout represents. As a starting point for designing our robot's drive base, we could use and look at this image. Then we created 2 models tailored to each robot. I used TinkerCad, a free-online program that helps in 3d Modeling. I essentially made these whole layouts on my with a little help from the online pre-made VEX pieces. Although, our robots don't look the exact same as the model but they do represent the main idea of it.
|
|
Robot-1: |
3D Model: |

|
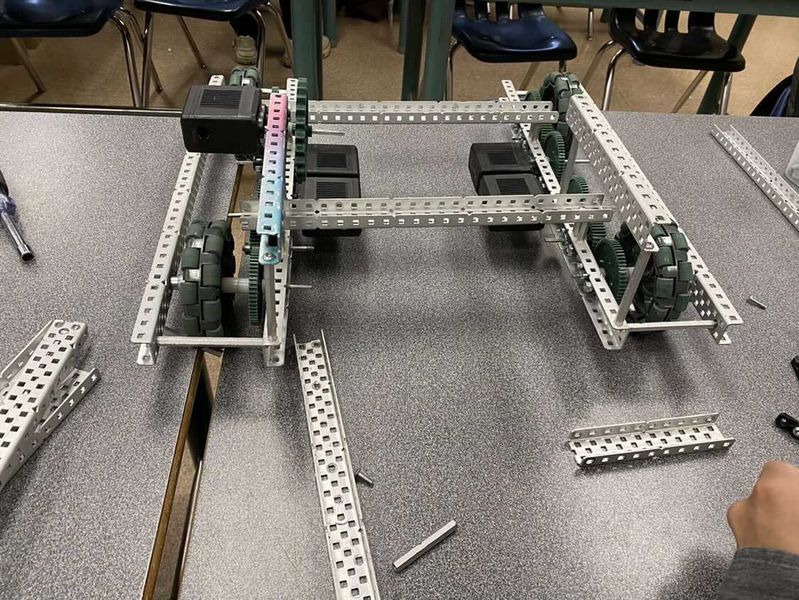
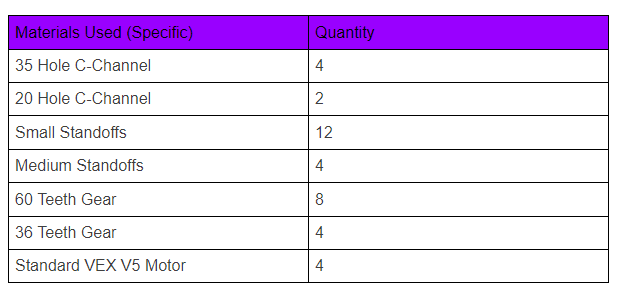
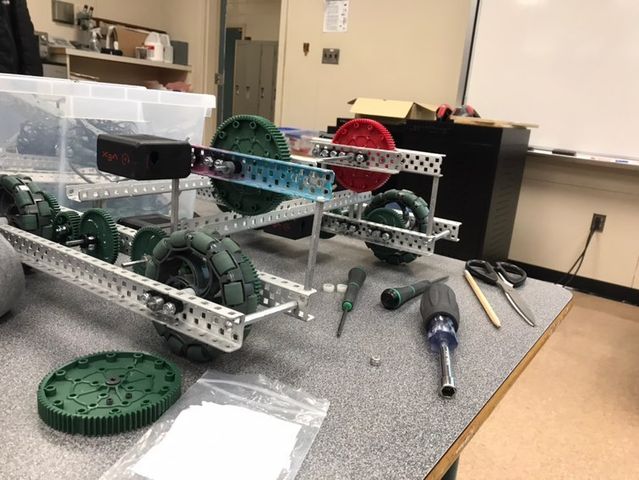
The Drivebase of Robot-1 is a 4WD base with separate motors for each wheel. My group members and I decided to create a similar drive base as last year. We modified the design, however, to make it more suitable for the tournament this year. We used four motors and 4 different sets of gears for speed. Two 20 C-Channels connect everything and are held in place by shaft collars. Still, unlike last year, we will have multiple C15 C-Channels where our battery and cortex will be placed. A gear train arrangement will distribute this power between both sides. This allows maximum power and torque as well as being stable, sturdy and reliable. We basically used 2 35-Hole C Channels for the width. and we connected these 2 halves by using 2 20 Hole C Channels and small standoffs.
|
|
|
|
3D Model: |
Robot 2: |
|
|
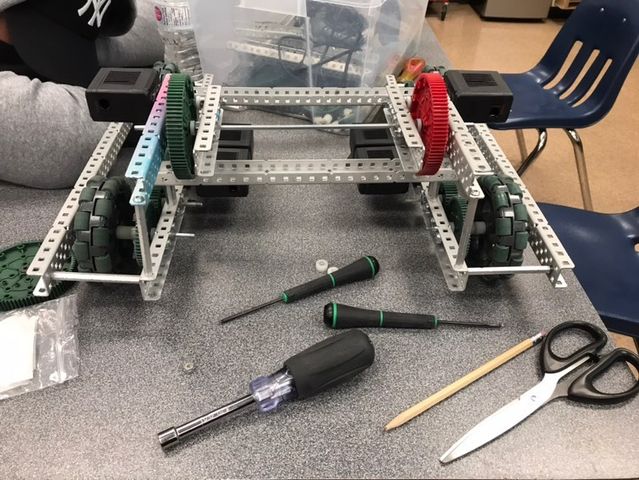
As compared to our Robot-1 Drive Base, This one is not as complex as that one. As a matter of fact, it is very easy to construct. Furthermore, it does not take as much time to build, test, and code as does the robot-1 drivebase. However, This doesn't mean that this drivebase isn't as efficient or compatible as the other. It is good as the drive base but we decided to take a simpler approach with this one due to limitations on time. The process involved making the same halves with 4 wheels each connected with independent motors, no gears just motors. These 2 halves were then connected with C-Channel through the middle.
|

|

|

|
Evolution of The Drivebase
Struggles and Obstacles

|
Any project involves multiple challenges and we did face issues through this phase of our project. One of the problems we had was that the robot's drive base wasn't strong enough, so the robot would slant underweight. However, we resolved this issue by adding an extra bar with standoffs. Another Issue we faced was when our whole drive base was ready but one of the motors was not working because of which we had to test our motors and switch it out for new ones. Other than building struggles, We as a group can procrastinate or slack off at times which is a huge negative and a struggle. Otherwise, We were good during this duration of the project. |
Current Progress/ Evolution/ Moving Forward:
|
Following the building of our drivebases, we will now work on building the arms, tilter, conyers, and forebar of the robot. These components will basically be used for scoring and the game-play of the competition. We have already begun that process and I will keep on updating as we go on. |
|